
He will have the boat down at the Cedar Island get together in Florida in a short time and I built the weighted centerboard for the new boat.

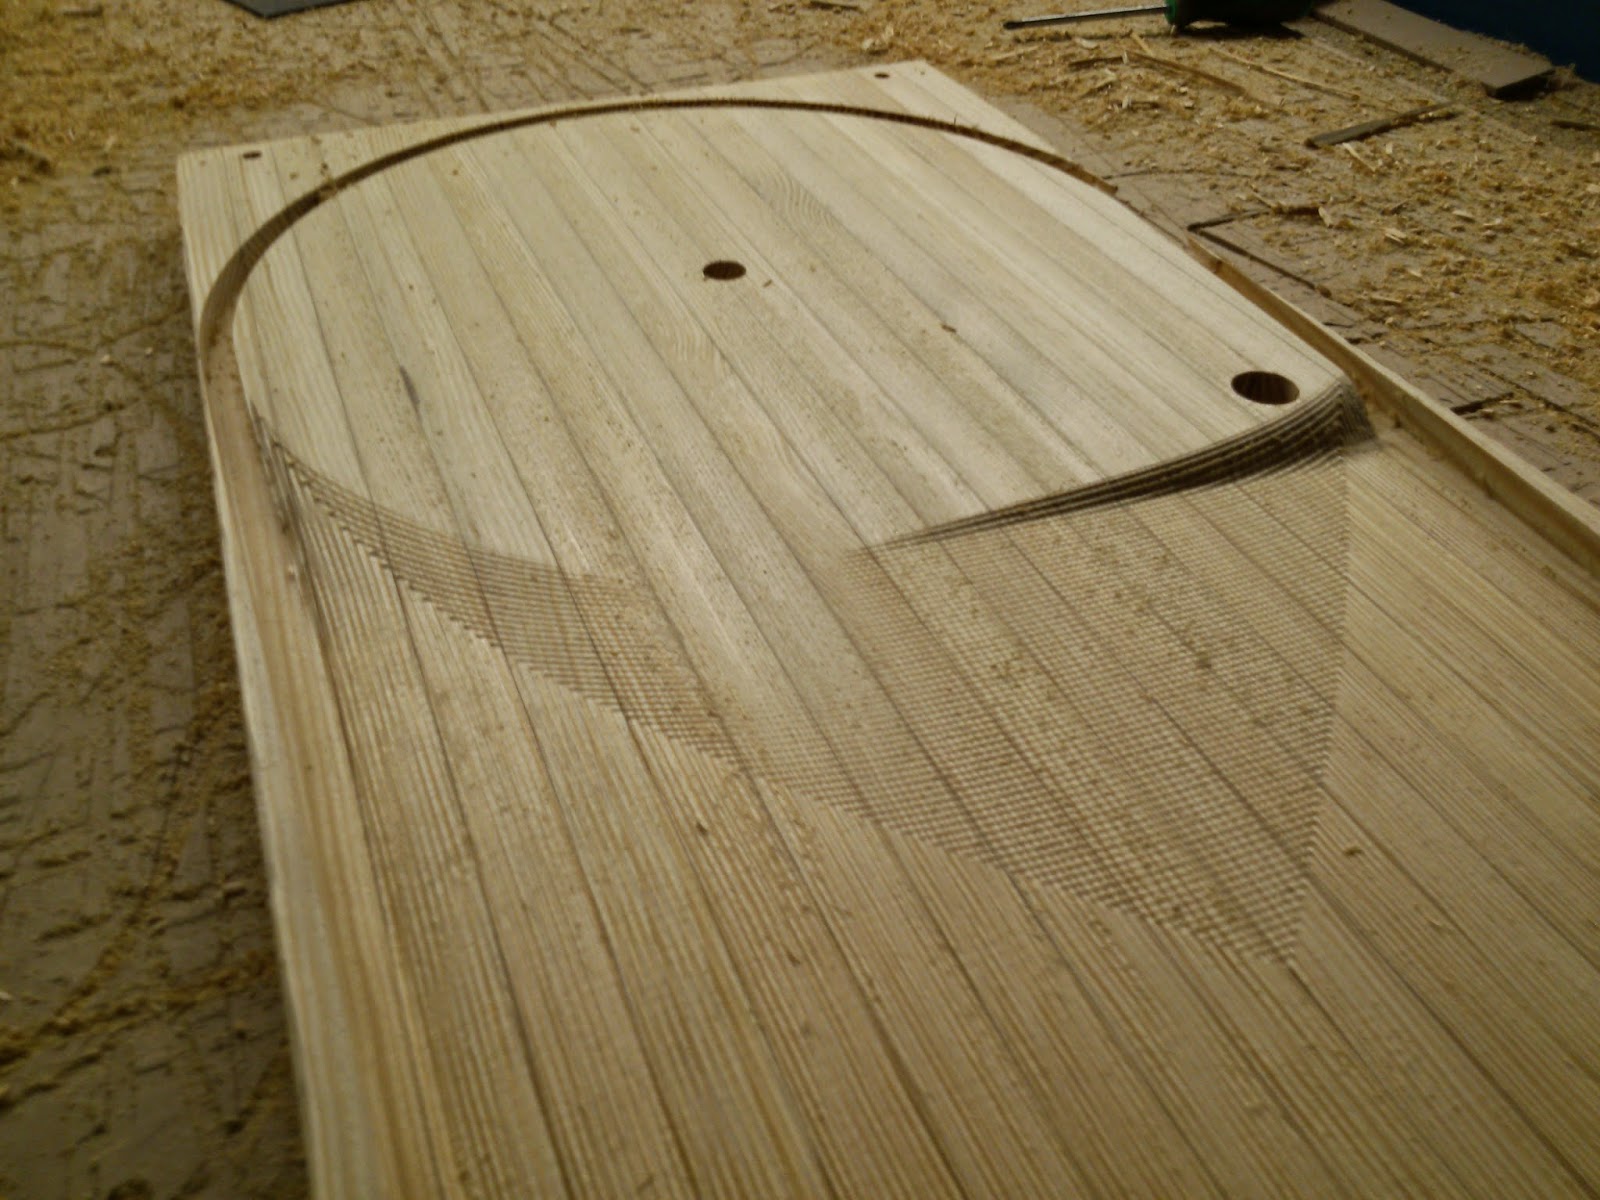
I used Graham's design to create the cut files for the new CB and glued up the wood blank for the board.
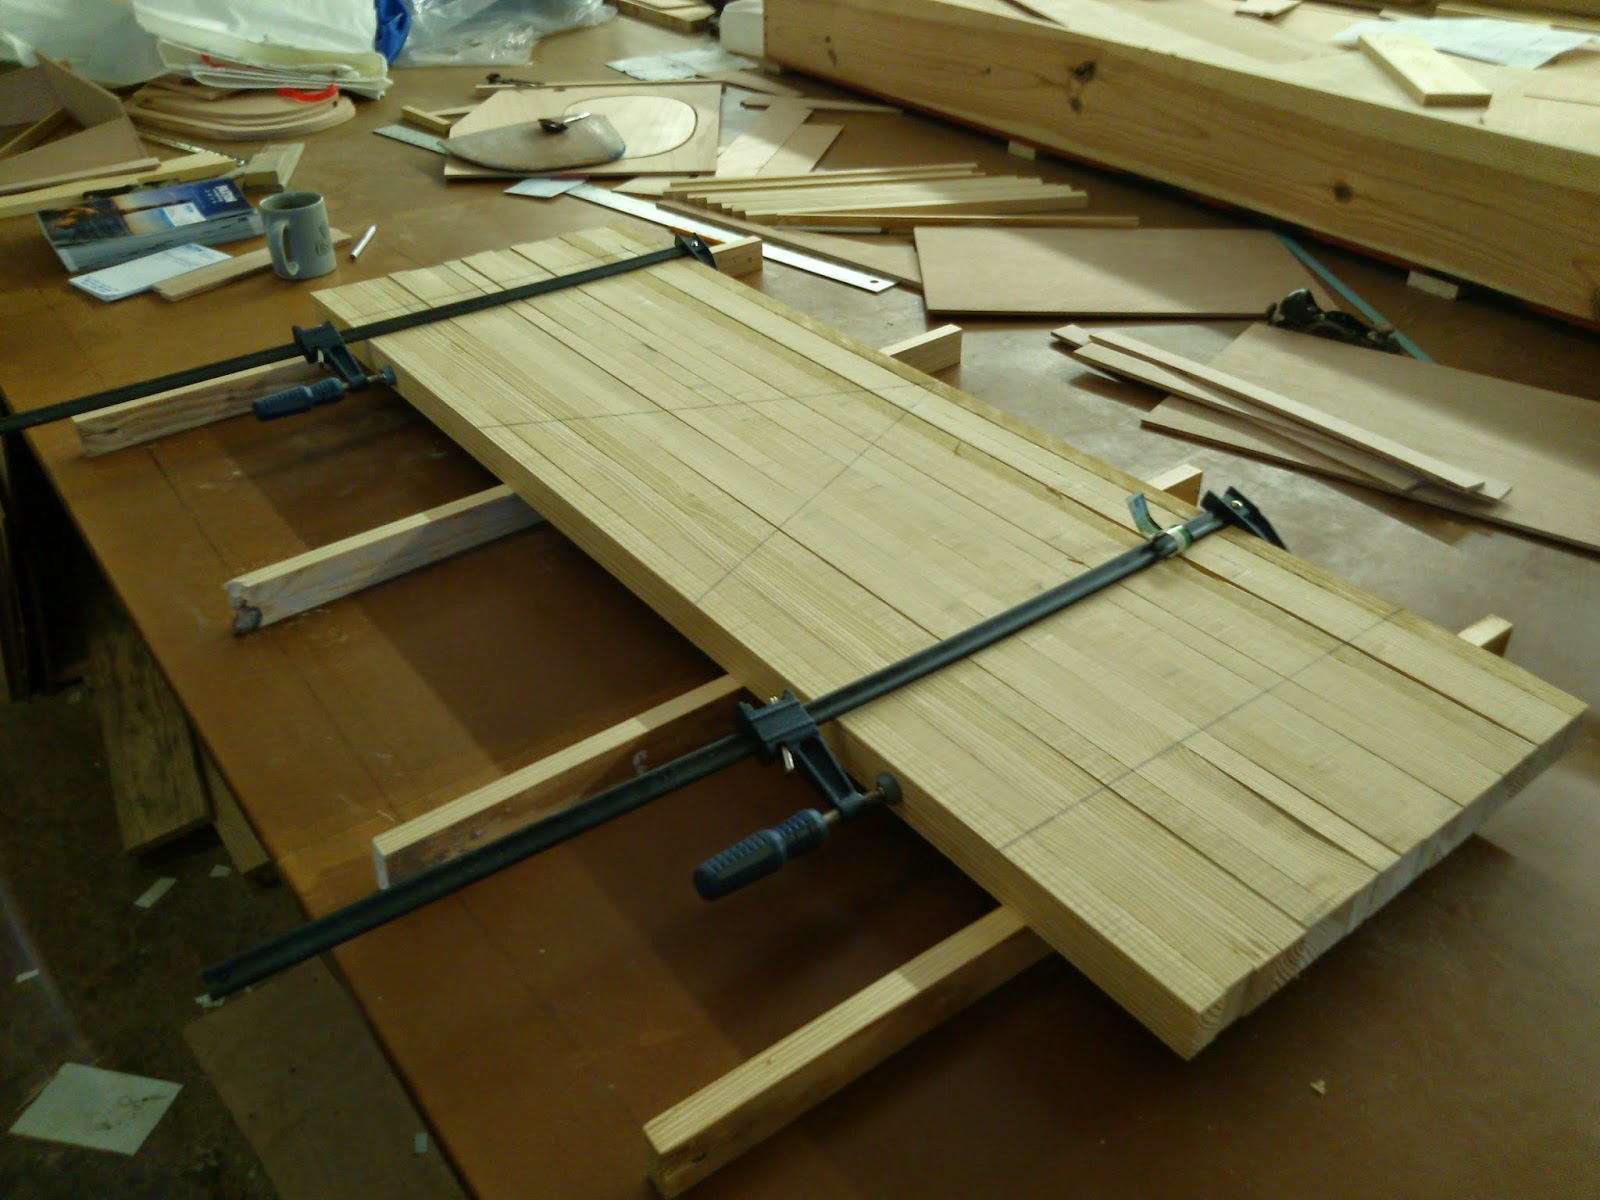
The blank is glued up from laminated quarter-sawn pine about 1" larger than the board on all sides. A large flat table really helps for this part. Double and triple check that the strips end up as flat as possible with no twist.


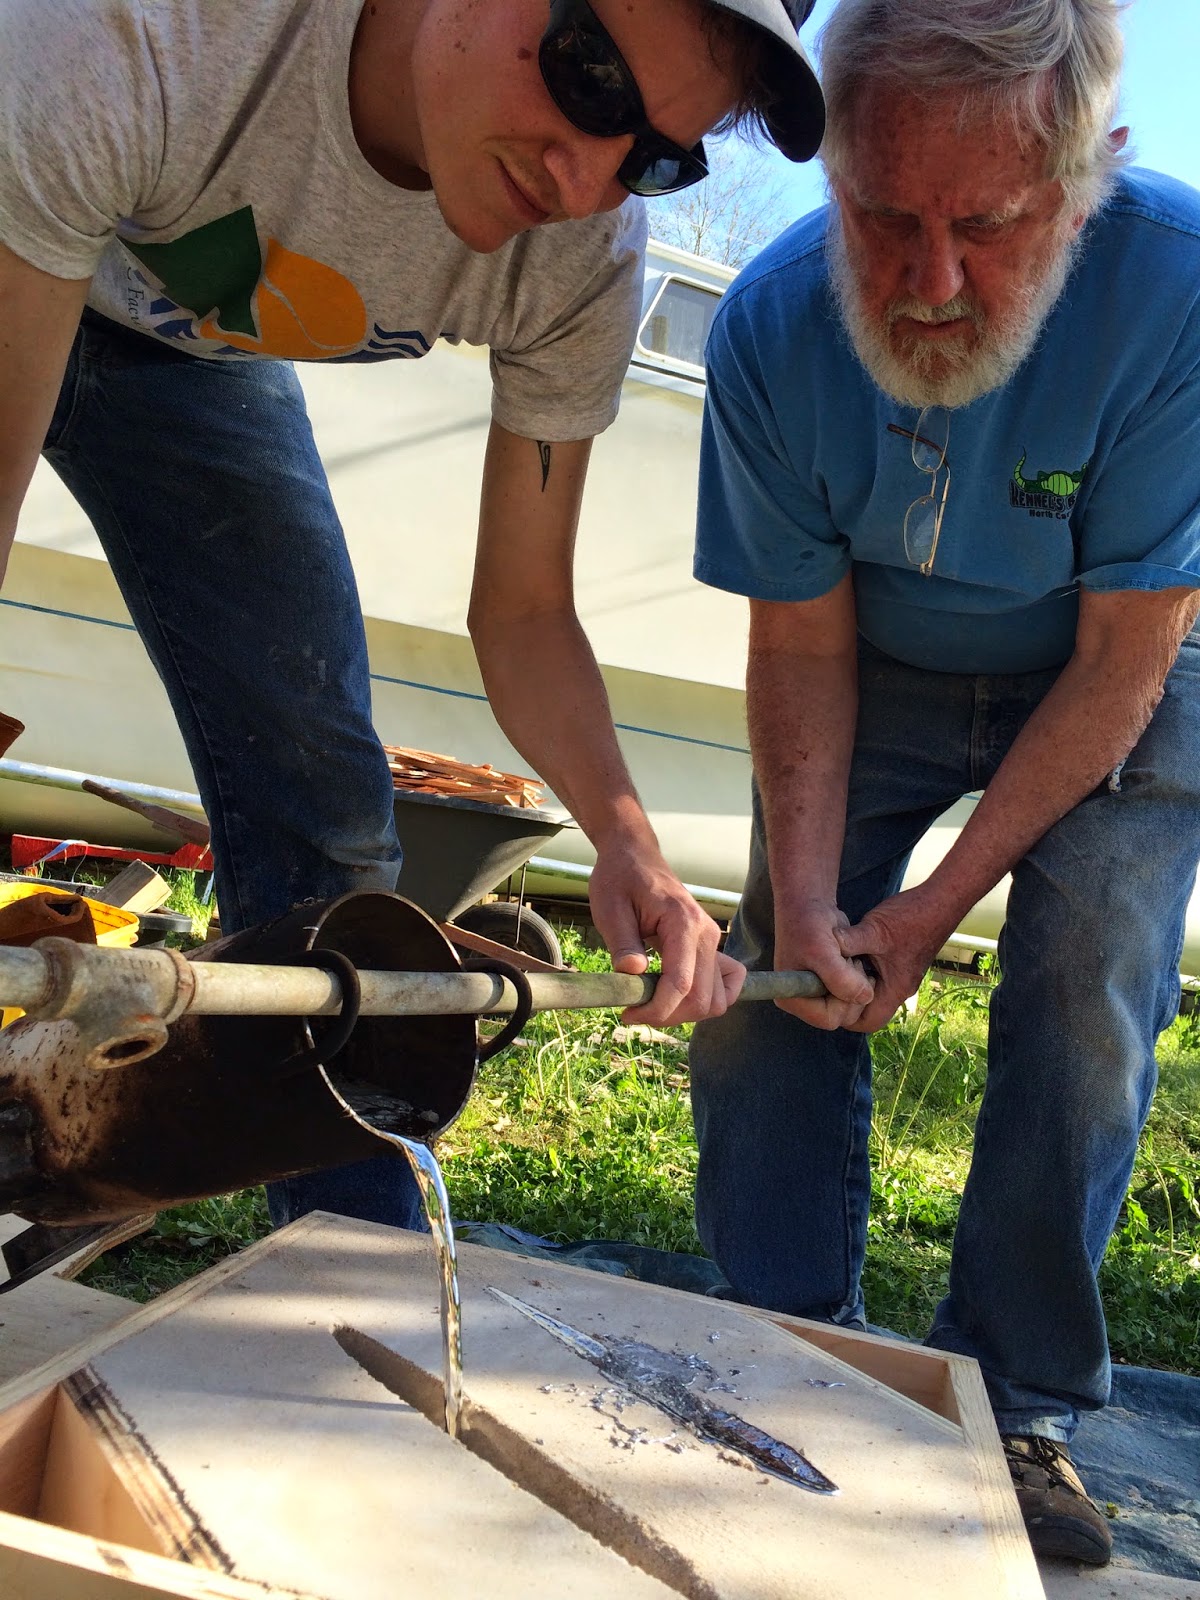
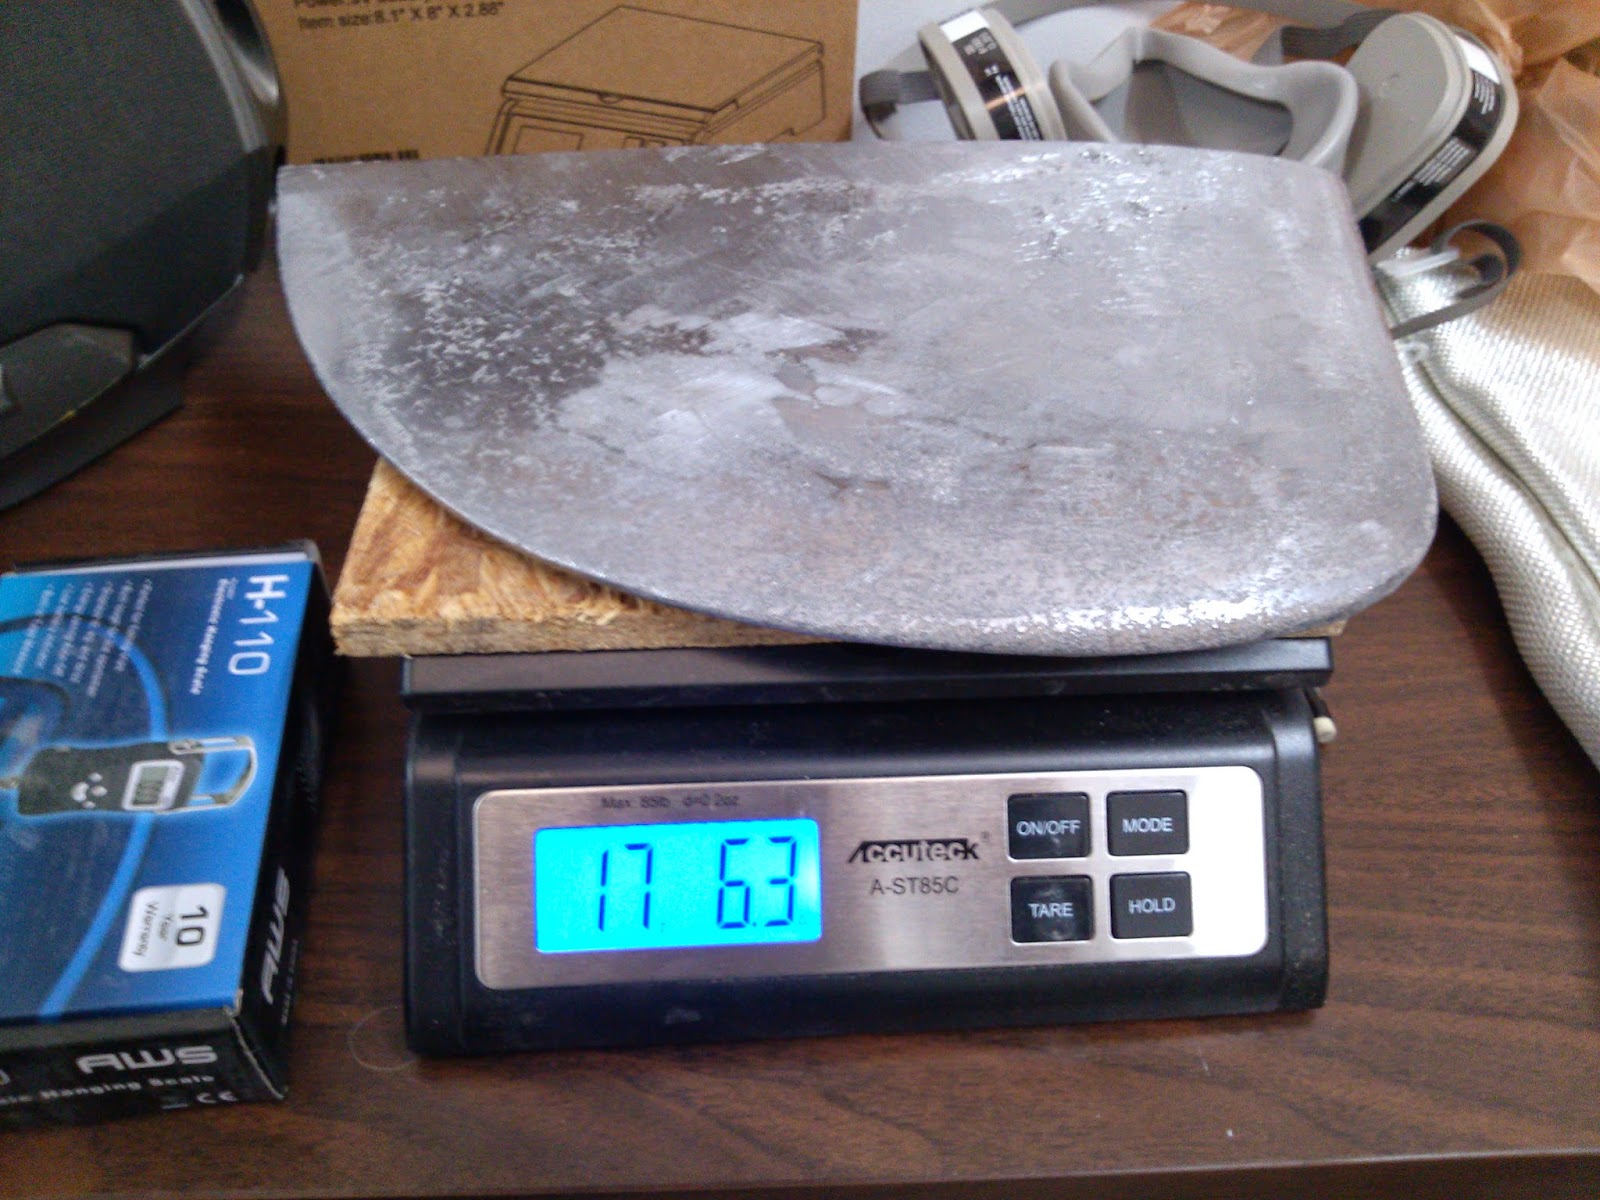
Pouring lead into an open sand mold. Our sand mold consists of a flask filled with hard packed "green sand" (sand mixed with bentonite clay and water). The wooden plug was used to create the cavity. We also cast a lead tip for a CS 17 MK3 at the same time. If you're interested in sand casting with green sand there is an excellent youtube channel you should visit called MyFordBoy. He has some wonderfully exciting (at least to me) casting and machining videos mainly in aluminum.
As we are just learning to use green sand we went for an open mold that resulted in parts that needed some clean up afterwards. Our holy grail is to cast an aluminum mold for the lead tips that can be machined to a perfect surface. The aluminum mold could then be used to make hundreds of perfect lead tips without having to pack sand each time.
Yes we probably should have been wearing masks but it was a particularly well ventilated (windy) day.
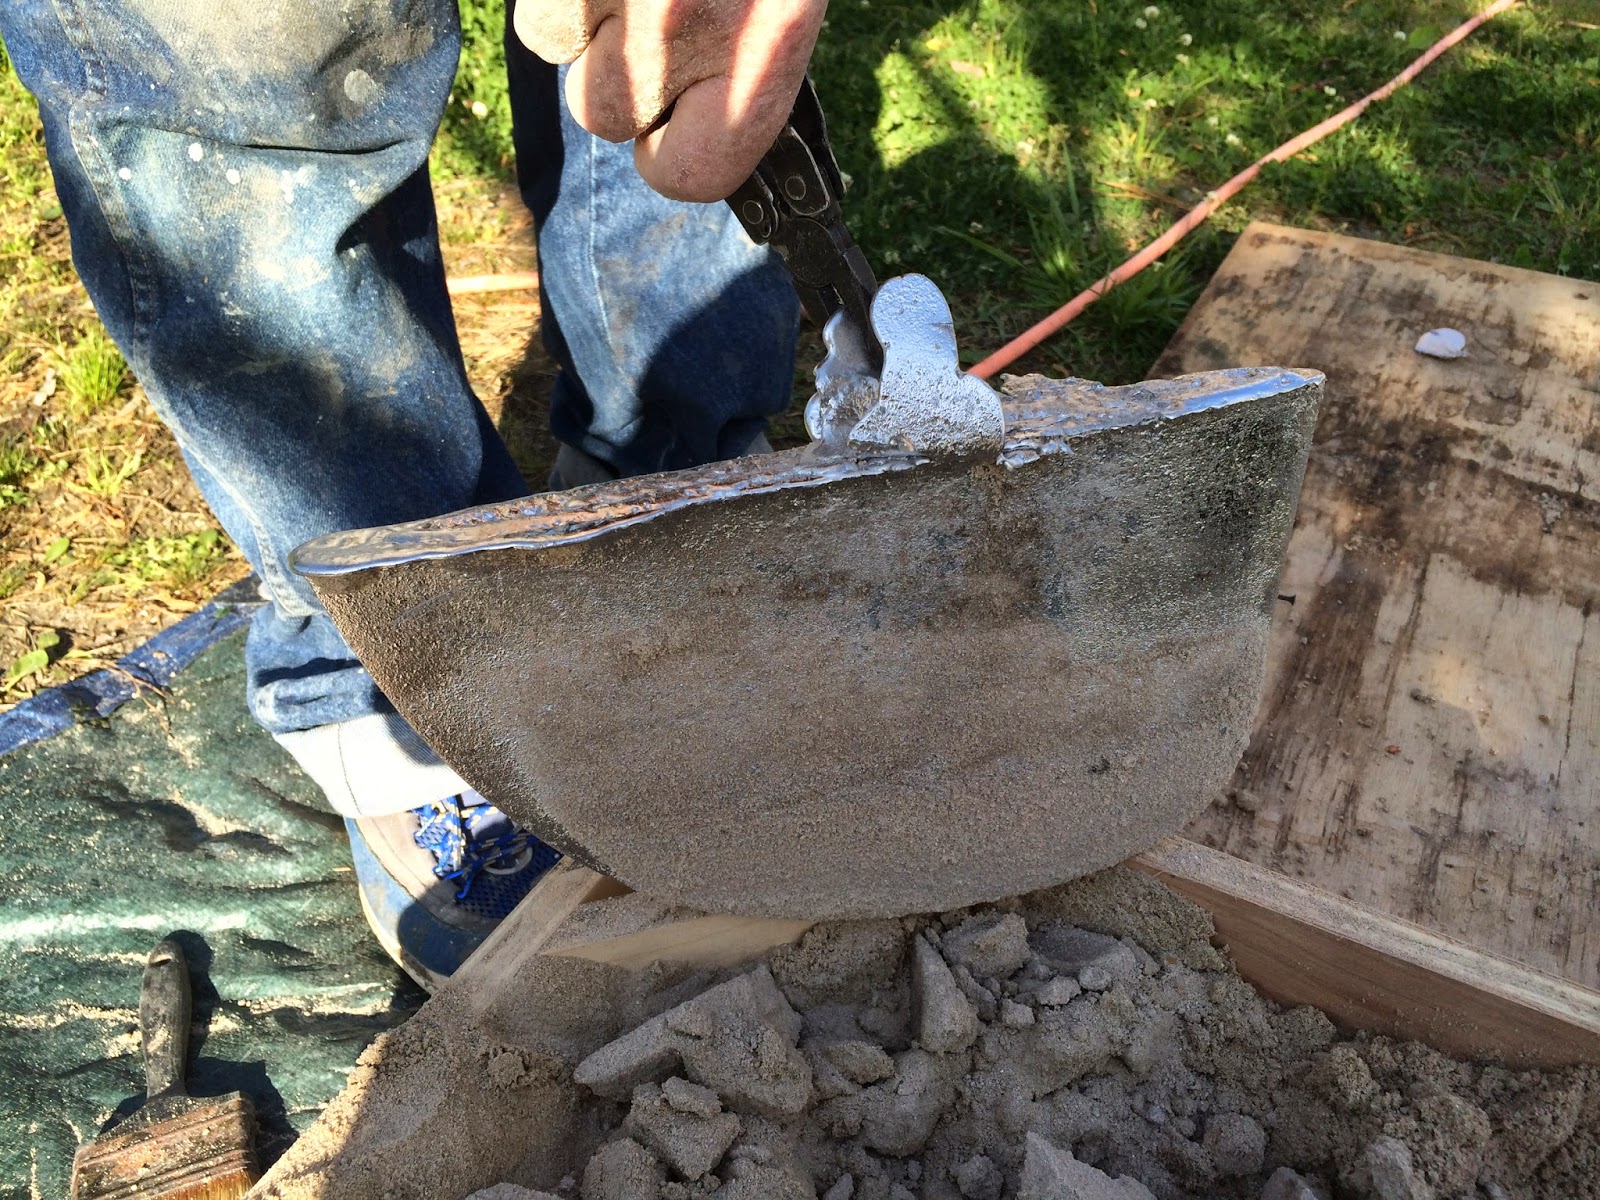
There was more sand texture at the bottom of the pour when the lead was hottest and swirling around the most but overall no major problems with either pour. The sand was very hot after absorbing all the heat from the lead. After casting the green can be reused over and over. The sand is put through a sieve and a little bit of water added back.


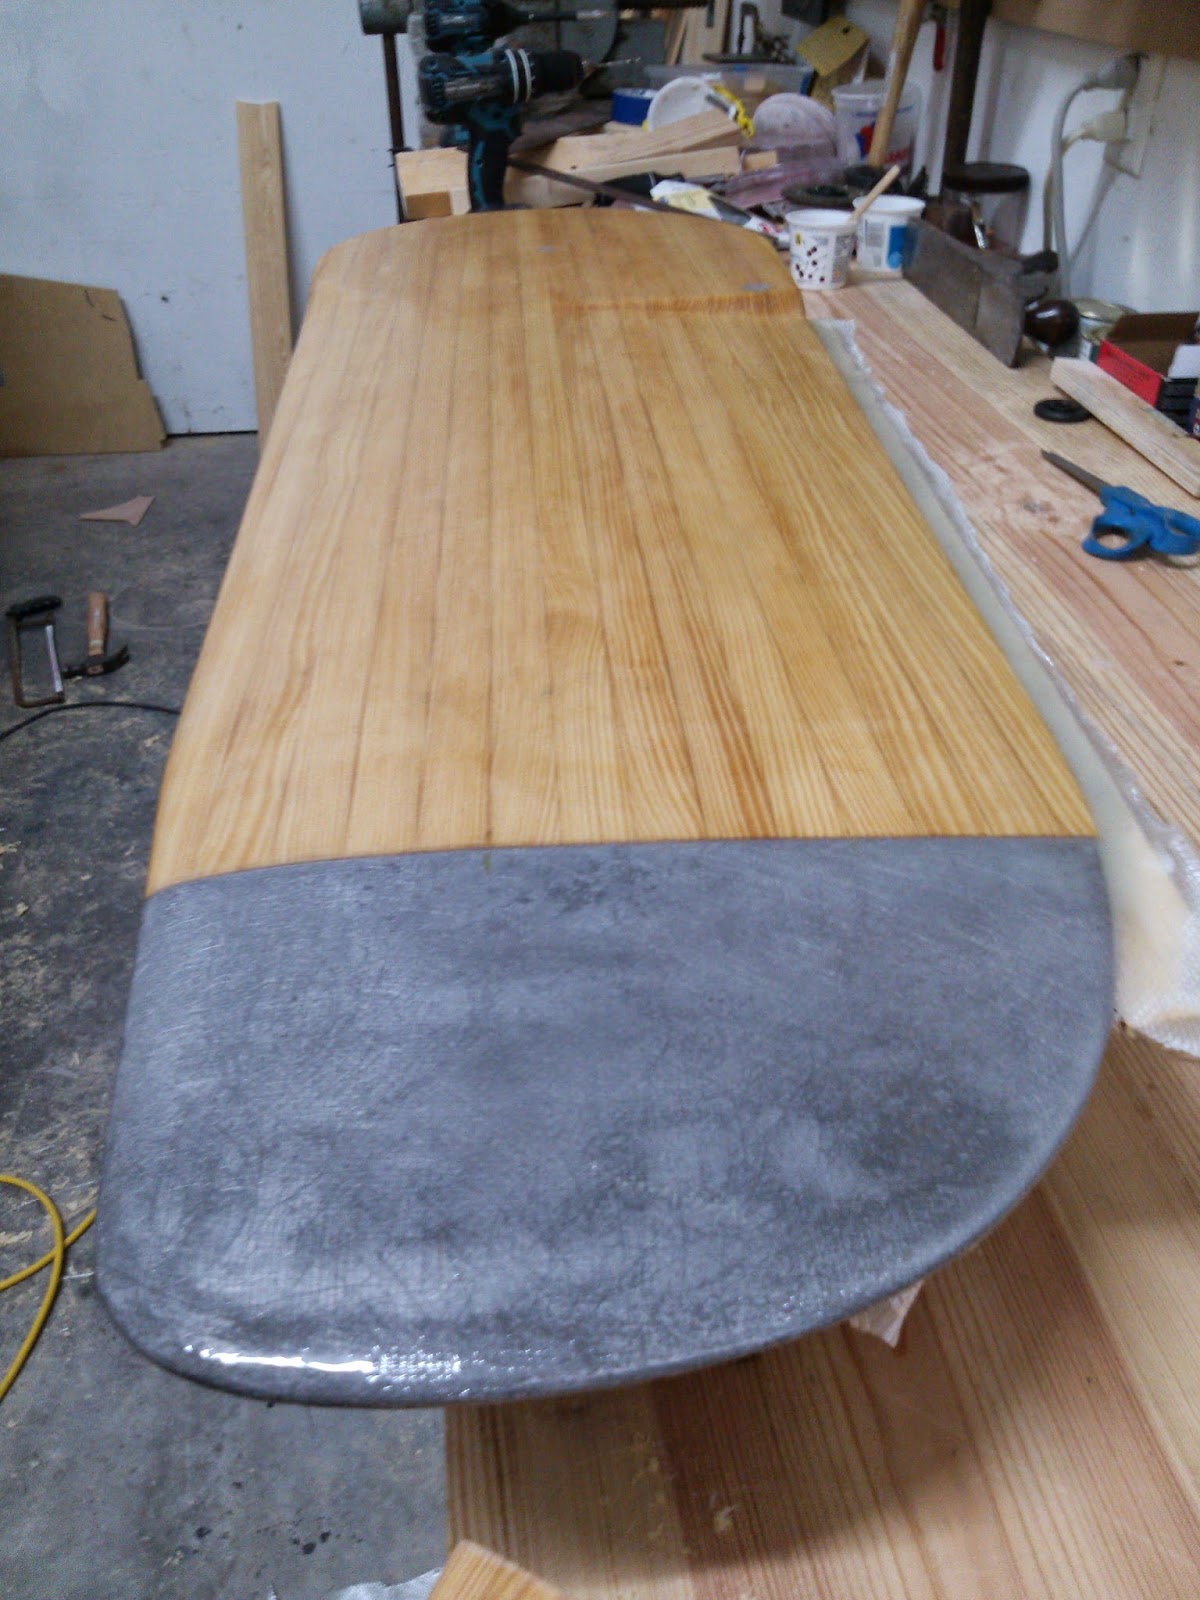
Once the lead tip was glued on, the CB was moved to the work table and the first side was glassed right away with 10oz fiberglass cloth.
A wide putty knife with thickened epoxy was pulled across the lead/wood joint to fill in any unevenness in the joint prior to laying down the fiberglass.
On the trailing edge a flat stick covered in packing tape was temporarily hot glued to the underside of the board to create a lip. Thickened epoxy was used to fill the lip and the glass was applied over top. This extends the trailing edge about 1/8" with thick epoxy and allows the TE to be shaped to an asymmetric point to reduce vibration. While a 30 degree or less trailing edge is best, an asymmetric shape with one flat side and one side cut at 45 degrees rounded into the rest of the board is very very close to ideal in terms of reducing oscillation or "board humm"
The fiberglass was cut about 2" too big and wrapped around the leading and bottom edges. A hot glue gun was used to "tack" the dry edge of the glass to the opposite side of the board to keep the glass wrapped around the edges. Afterward the hot glue was scraped off with a scraper.
The fiberglass was cut about 2" too big and wrapped around the leading and bottom edges. A hot glue gun was used to "tack" the dry edge of the glass to the opposite side of the board to keep the glass wrapped around the edges. Afterward the hot glue was scraped off with a scraper.

Above: The finished board with a coat of epoxy to fill the weave. The wrapped glass edge was sanded and feathered into the wood before glassing the second side. The second side glass stopped at the center line and the edges were sanded smooth before coating. The lead tip is held on with fiberglass alone no other mechanical fasteners. The board being nearly and inch wide at the tip gives the fiberglass (which has a very high tensile strength) a lot of leverage to resist bending at the tip.