The hull is now all glassed and ready for paint but I will be finishing up the hatches and rudder before that. Then she will be paddle-able while I complete the sail rig.
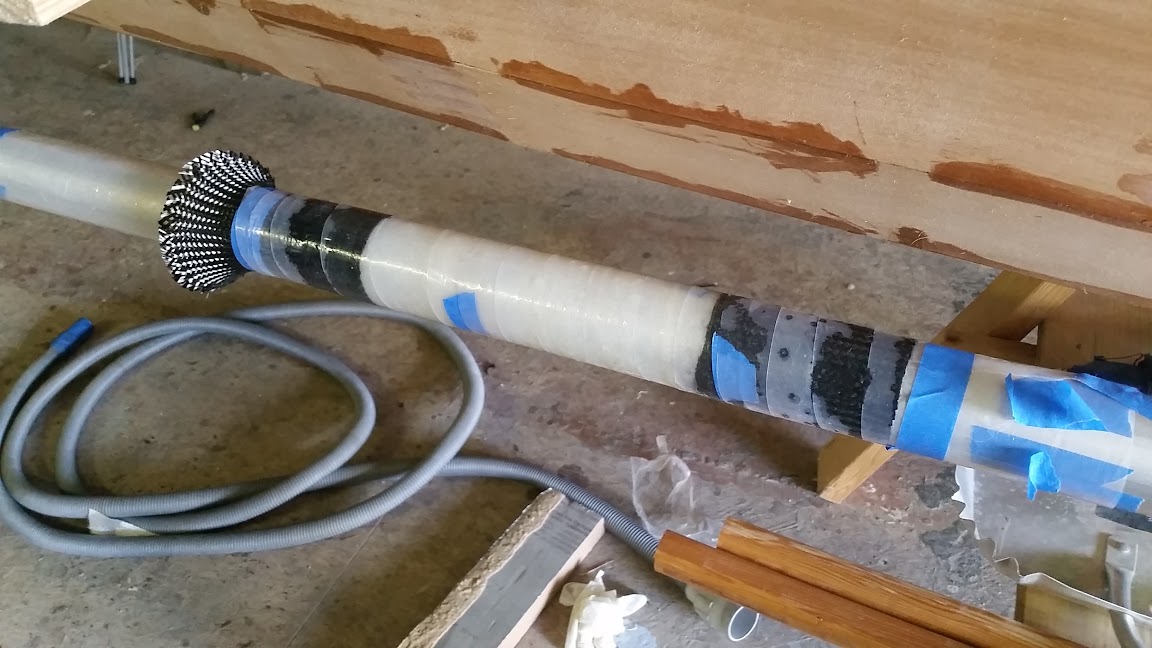
I made my mast step with some leftover carbon sleeve from Graham's EC22 masts. It was not necessary but I wanted to experiment. I was able to lay up the tube with the bottom portion masked off which allowed me to glass the tube to the hull with a big carbon flange after the tube cured. Below you can see the tube installed.
The deck is attached to the hull with hot glue and small wood bits which allow the hull and deck joint to be precisely joined. Once the deck and hull were joined, the inside was glassed with thickened epoxy and 2" glass tape. I used tape in the ends of the hull because it is easier to roll and unroll in place than cut strips. Once the interior hull/deck joint is fully glassed, the blocks are twisted off and a small chisel was used to gouge all of the hot glue out of the joint on the outside. Then the outside of the hull was given a good sanding and all remaining voids were filled.
The inside is glassed.
The bottom was glassed first and the glass was trimmed just past the hull/deck joint. It took 2 pieces to glass the bottom and the joint was left offset from center just to more efficiently use the glass. Then the deck was glassed all in one piece. That was tricky. Peel ply was used all over. I am undecided if it was worth the extra work but I believe so.
The completed hull glassed inside and out weighed in at 43lbs.
The forward hatch I decided to do rounded for extra strength and a nicer look. Originally I planned to just bend 4mm plywood but decided to do a striped top which won't try to spring back and won't require beams underneath. The strips are 3/16" basswood 1" wide with a 5 deg bevel cut on one side of each strip. The top will be sanded round and then the hatch rim put on in plywood before glassing top and bottom.
The stern and cockpit hatches are 4mm plywood flat panels with bent 4mm ply rims. A heat gun was used to "dry bend" the plywood. Long clamps and patience are required to achieve the hatch below. A plywood strip on the outside takes care of the end moment at the bitter ends of the joint. Once it's in place, a fillet is applied to the inside and then the screws can be removed.
The rudder blank is glued up and will be CNC machined to shape.


