Monday, November 17, 2014
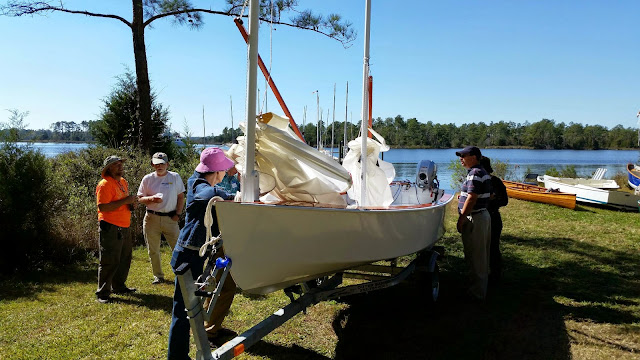
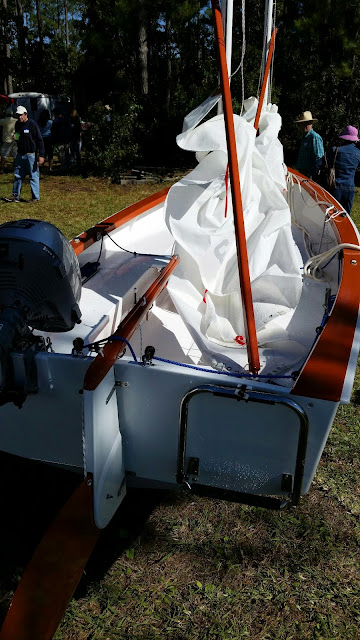
The Core Sound 15 sails at the Messabout 2014
Sunday the breeze filled in and Graham took some video of me spinning around and tacking. The boat is very lively and light on the helm. She takes off much quicker than the CS-17 but has a lot more stability than a Spindrift 12. What a fun boat to sail!
Sunday, November 02, 2014
New Build Videos on the Core Sound 15
Here are a few more videos in the Core Sound 15 build series.
And here is a short introduction to a Stanley #4 wood plane.
And here is a short introduction to a Stanley #4 wood plane.
Monday, October 27, 2014
Videos from the B & B Messabout 2014
In the above video, Robert and I attempt to chase down the CS20 MK3. She is a fast boat!
Later the new MK3 CS20 sucessfully completed a self righting test with ballast tanks full.
For comparision here is the self righting test done at the 2013 Messabout in the Core Sound 20 Mk2 that recently completed the North Carolina Challenge 2014.
Sunday, October 26, 2014
B&B Messabout (Sunday)
here are some pictures I took on Sunday. I also created a Facebook group for the B&B messabout with many more pictures that can be seen here.
A lineup of CS's (my 17 'Southbound' then the new CS-15 'Amazing Grace' then 'Dawn Patrol' and on the end I believe is Brent's CS-20.
A fuzzy shot of the new CS-20 Mk3
Dejah dog eating a pine cone next to a Mandy named 'Mandy'
Dawn (my mom) out for a sail in the new CS-15
Puppy!
Peters Bright CS-17
Joe and Sally's EC-22 charging along
Right past the dock.
Another shot of Dawn Patrol
Tom Lathrop on his Lapwing
Graham and Doug test out the stability of the new 20 MK3
Mark 3 20!!!
The ever cheerful Robert jumped on board the 15 for a quick blast around the creek.
The new CS-15 riding in the lee of the dock ready for another outing.
Bill "Doc" Palumbo's CS-17 'Petunia' splashed after 6 years of work! Well Done.
Saturday, October 25, 2014
B&B Messabout 2014 (Saturday)
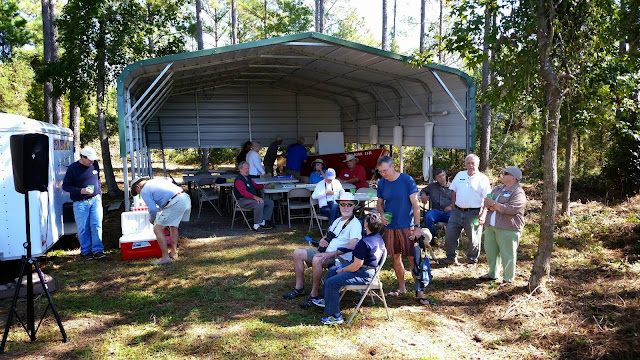
The Boat shed down by the waterfront turned buffet area.
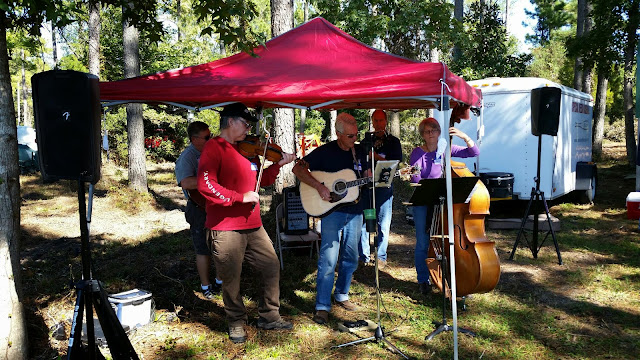
A Band even showed up!!
The CS 15 "Amazing Grace", YES IT'S THE ONE FROM THE VIDEOS!!!! Finished. More videos on it coming soon I promise...
Here she is from the stern ready to set sail.
A happy new owner
Joe and Sally's EC 22 cruising off the day before the messabout
Richard, owner of DrainPlugMagnets.com enjoying his new CS-15 on Saturday
Sun setting over the CS-15
My little puppy 'Dejah' finally worked up the courage to venture out onto the dock.
Chicken may have helped motivate her.
The famous 'Dawn Patrol' holder of Class 4 watertribe course records for the North Carolina Challenge, Black Beard Chalenge, and Everglades Challenge!
Thursday, August 21, 2014
A Furry Addition
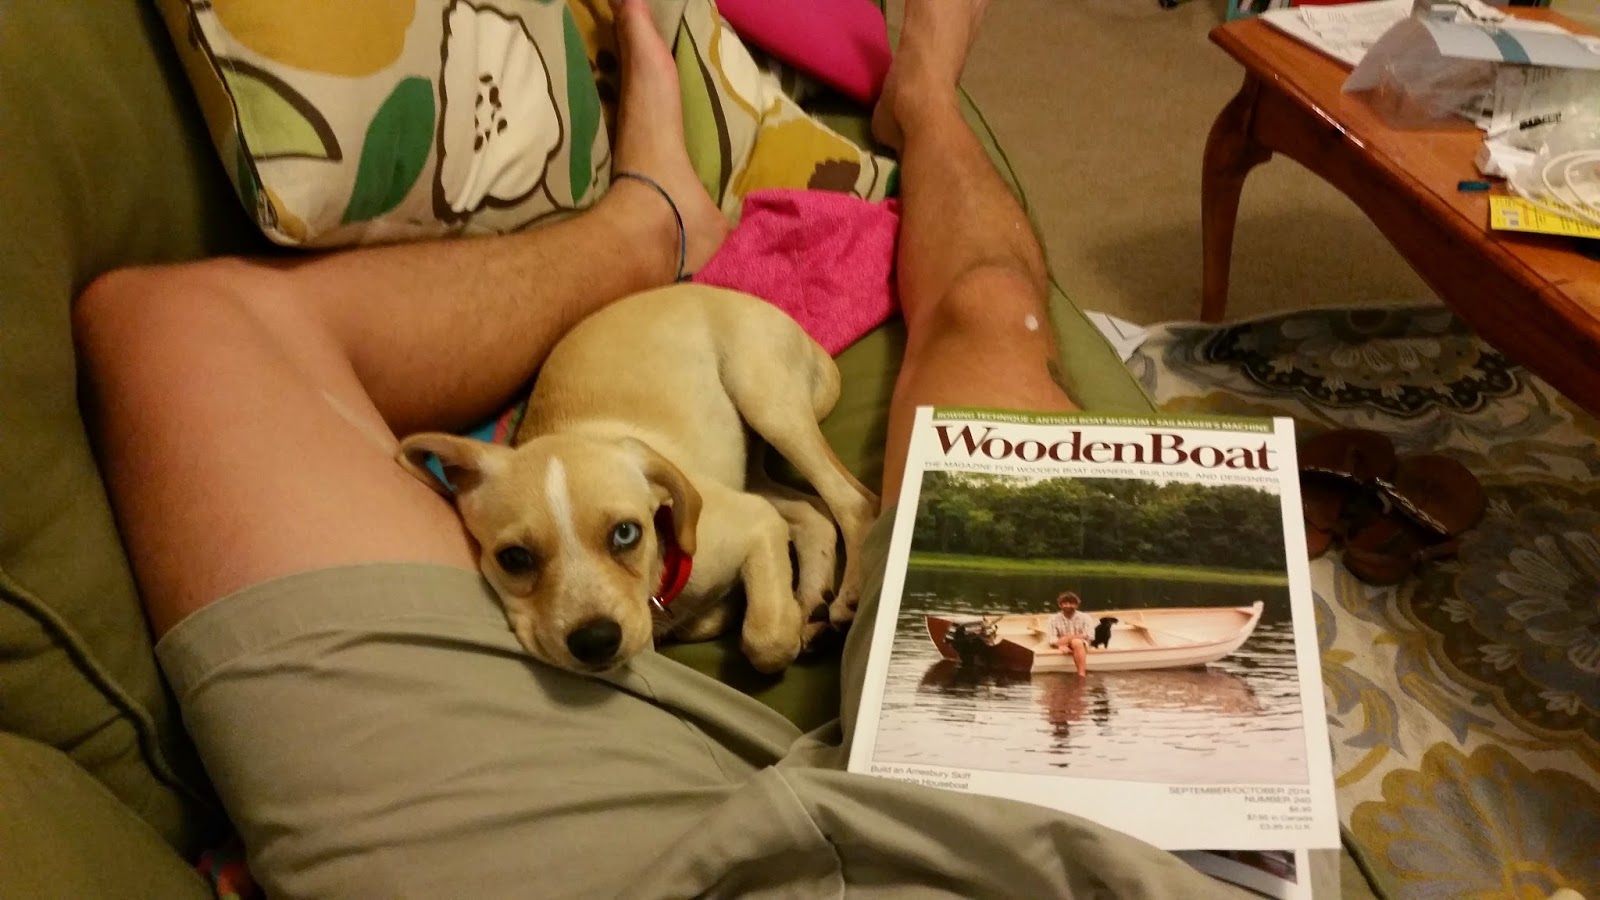
This weekend we brought home a new furry friend into our lives. Dejah is a rescue puppy picked up on the streets in Clinton, NC. She is 5 months old and has one blue eye. She is very sweet and quiet. We are loving her!
She loves to be wherever you are.
And she loves WoodenBoat Magazine!
This week at the B and B Yacht Designs Shop in Vandemere, NC we had a misty morning and I snapped some pictures at the dock as the seagulls flew over the glassy creek.
Friday, August 08, 2014
Core Sound 17 'Southbound' gets a weigh in
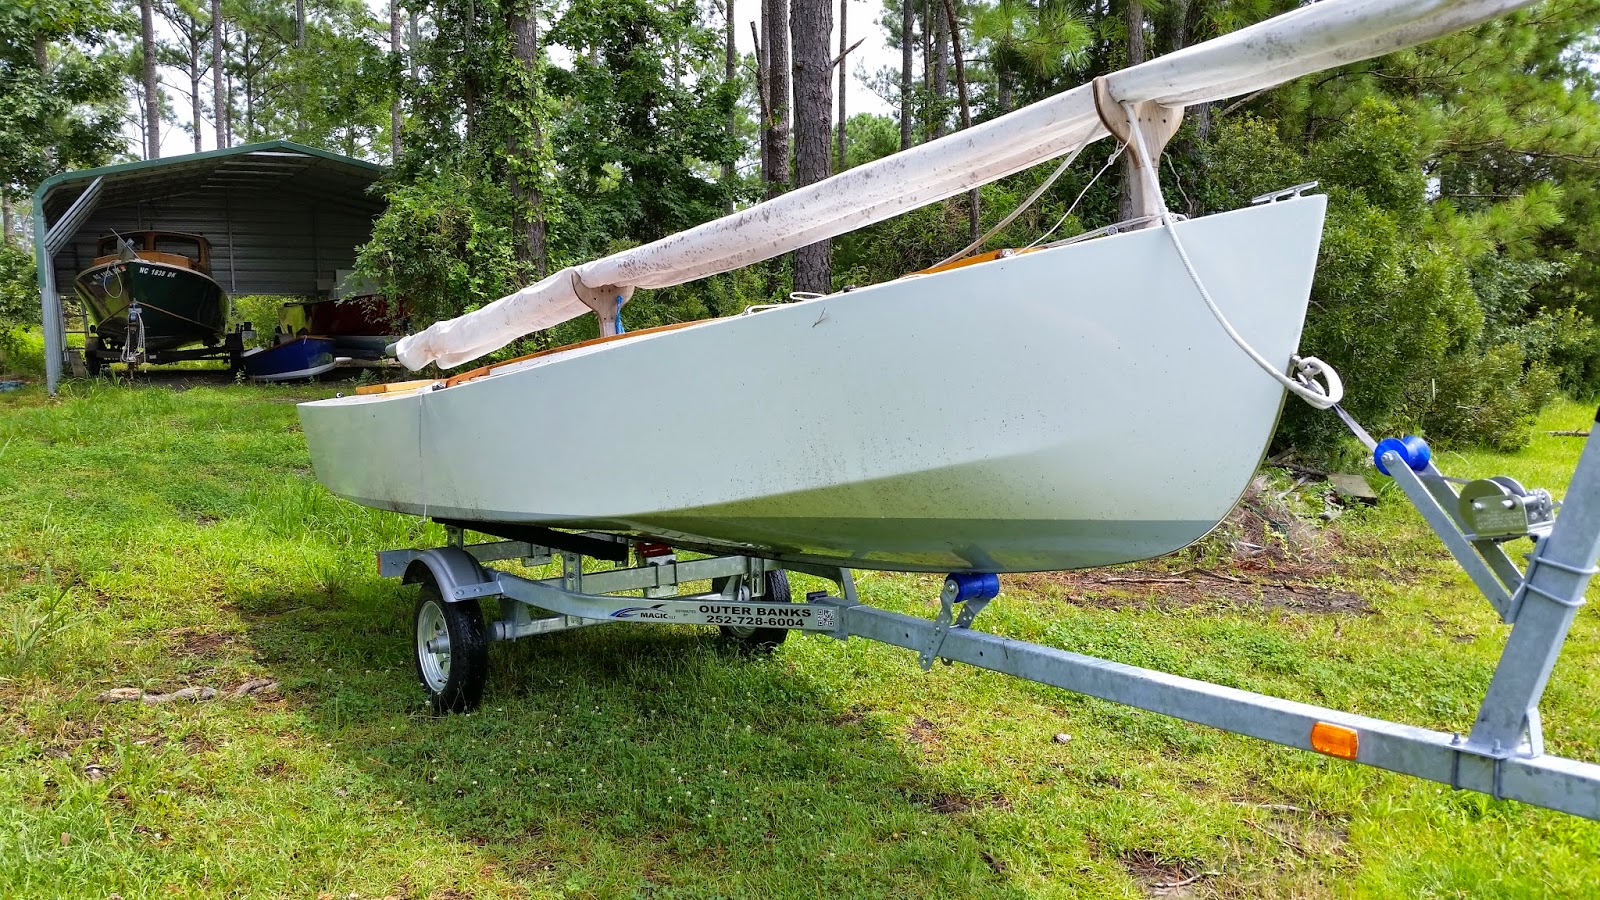
This week at the shop I finally got around to purchasing a new trailer for my Core Sound 17 'Southbound'. The original trailer was commandeered for the Mosquito Trimaran and I don't want to modify it back to fit the 17. We took the opportunity to lift her onto the trailer with the tractor and use a newly acquired digital scale to weigh her. Any guesses???
She weighed in at 445 pounds with no accessories. No masts, sails, sprits, rudder, anchor. So all up probably a 500 lb boat.
Here she sits on the new Trailer.
She weighed in at 445 pounds with no accessories. No masts, sails, sprits, rudder, anchor. So all up probably a 500 lb boat.
Here she sits on the new Trailer.
Mandy inspects the welds and declares them to be sound. She says that we may proceed.
The trailer needs a little adjusting as there is a bit of overhang at the moment but all looks good for many more sailing trips to come.
Monday, August 04, 2014
Starting to look like a Boat
This weekend I glued in the tabernacle assembly and the mizzen mast bast. I also got some work done on the foredeck and the carlins that will support the side deck. Here are parts 12 and 13.
Monday, July 28, 2014
More work on the Core Sound 15
I've uploaded parts 9, 10 and 11 of the build. If your one of the 3 people who can stand to watch them then thanks for following along! These 3 videos represent about 2 long weekends (or about 5 days) worth of work.
In Part 9 below I get the aft seat locker painted in preparation for the seat tops going down. I also get the centerboard trunk glassed to the bottom of the hull.
In part 10 I get the seat tops glued down. I made a piping bag (apparently that is what they are really called) to do the "icing" on the "cake". Don't make the mix too thick or you will have trouble squeezing it out of the bag easily.
In part 11 I was able to get a lot done thanks to the 93 degree weather we had this weekend. Multiple steps were possible in 1 day because of the fast gel time of the epoxy at that temperature. I coated the seat tops and sanded them the next day, installed the tabernacle bulkhead and glassed it in and I also started coating some of the underside of the various deck parts off camera so they will be ready to go down when all the deck structure is finished.
Thursday, July 17, 2014
Core Sound 15 Centerboard Construction
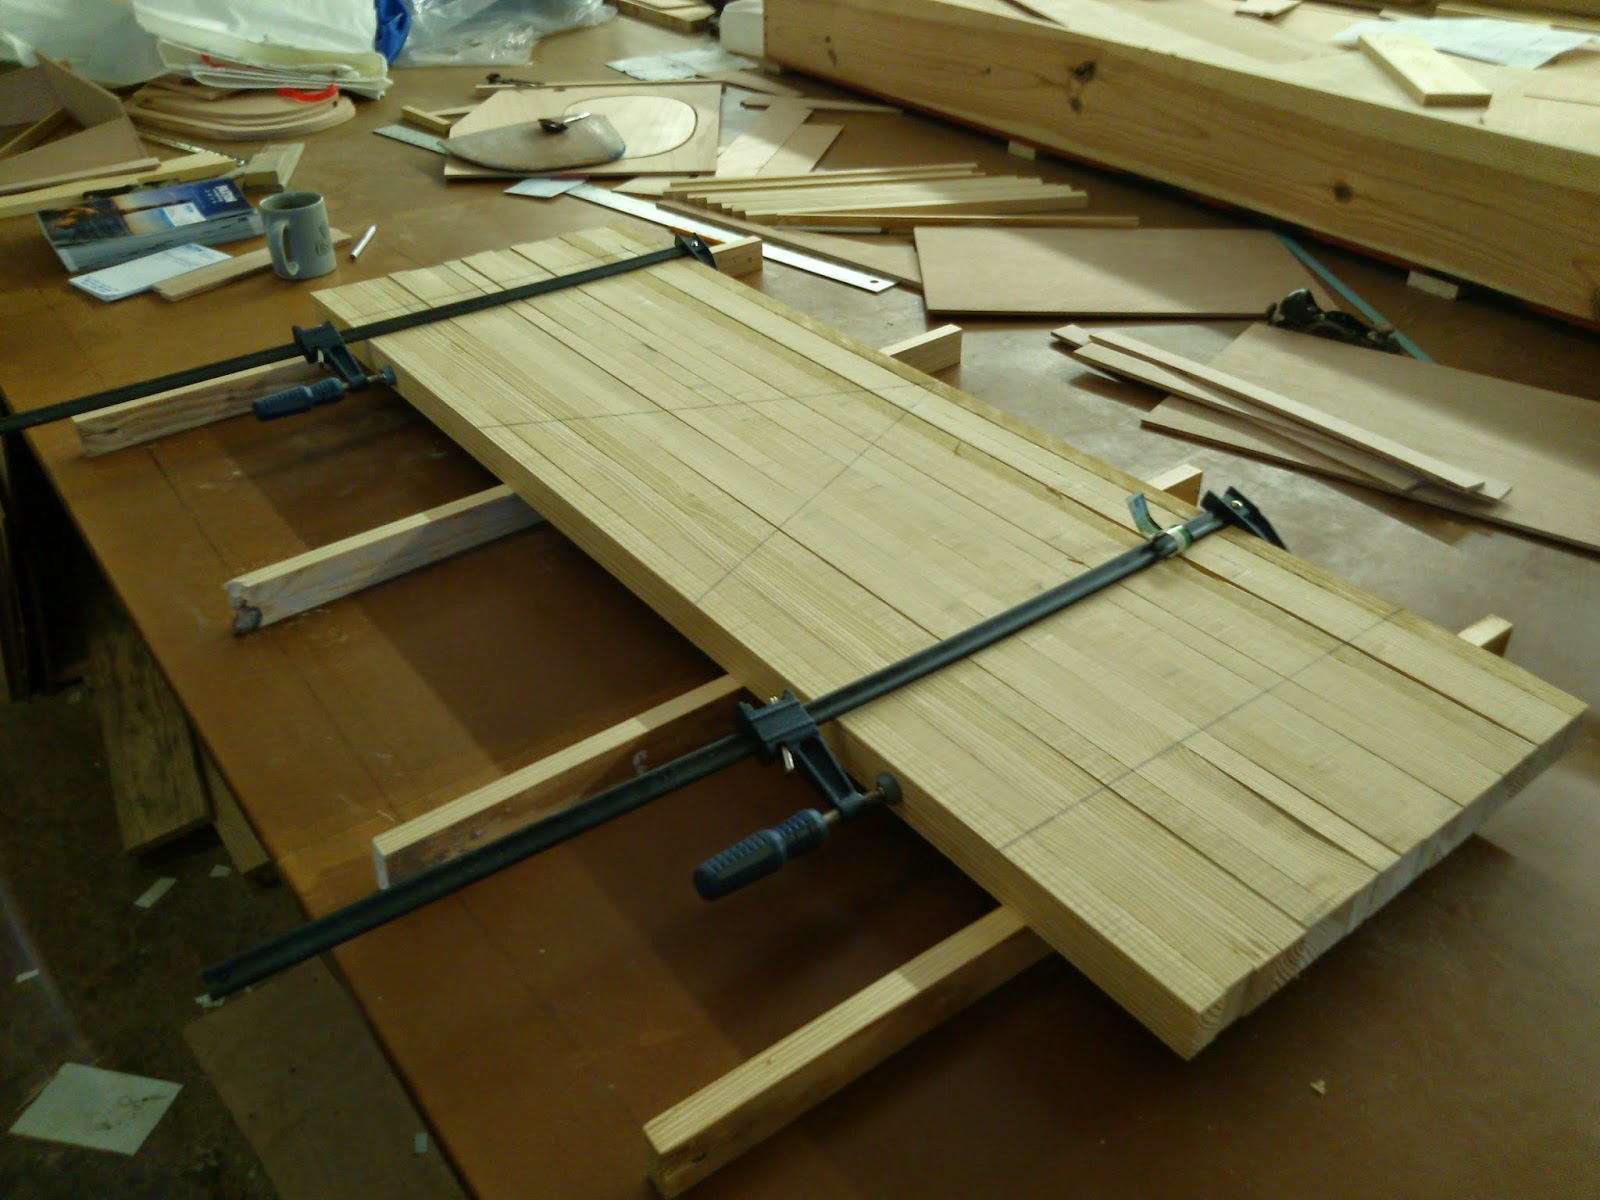
Below is a video of the process of cutting and gluing up the quarter-sawn strips of wood that make up the centerboard. The finished blank for the centerboard is very stable because we "end for end" every other strip in the board which cancels out the bending or twisting tendencies of any individual strip. The strips are oriented as close to quarter-sawn as possible to reduce the effects of expansion and contraction of the wood.
Ideally this process starts with a straight plain-sawn board with little twist. The boards I used were not as plain sawn as they could have been and so I ended up with some strips that resemble more rift-sawn cuts. One could be more picky with their strips and weed out the rift-sawn ones.
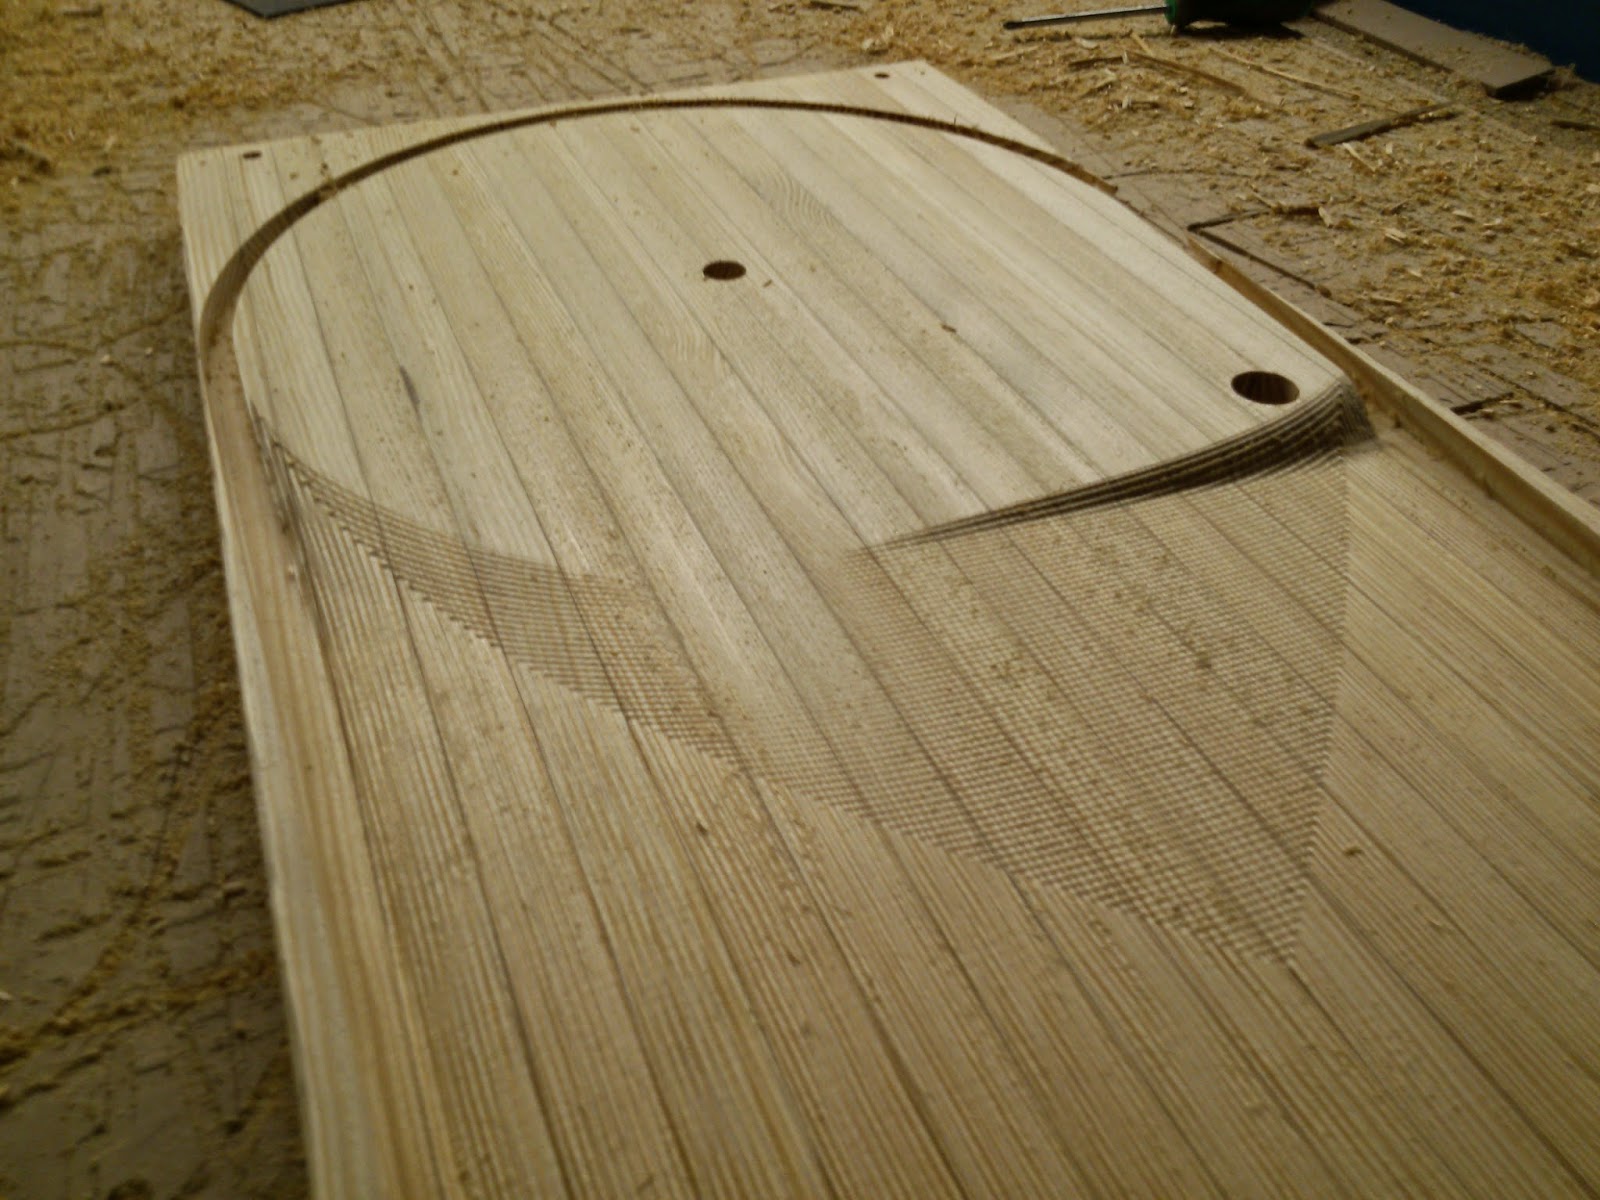
After the blank was glued up it was put on the CNC machine to be shaped. The creation of the part files takes about twice or even 3 times as long as the cutting itself. The entire process took about 6 hours to draft the centerboard in 3 dimensions and create the cutting files. That includes the surfacing and hole drilling and outline cutting. Each of these processes involves a different set of menu options in the software and each produces a separate file. It is not as easy as throwing in your 3d model and out pops a centerboard. Each file has to be referenced correctly to the origin so that all the cutting operations happen in the right spot in relation to all the others. Otherwise the two halves of the board might not match up!
Here is a video of the processes that went into cutting out the centerboard. The obvious advantage to this method is that another centerboard can now be created using these files in a fraction of the time. And all in all, the final product is more accurate that one could hand shape given 6 hours with any hand operated tool.
Friday, July 11, 2014
Core Sound 15 Centerboard Trunk Installation
This week the centerboard trunk was installed in the cockpit and awaits fiberglass taping. I also started on construction of the centerboard which will be the subject of the next video.
Monday, June 30, 2014
Part 6 of the Core Sound 15 build
Had the chance to get more parts cut out for the 15 last week. Here is a video of the progress to date:
Below are some pictures of assembling the B and B waterproof hatches.
 Here is the hatch lid being glued up on a flat table to eliminate the possibility of a twist in the top. The parts were assembled with dabs of hot glue and then filleted. The hardwood beam across the back cannot be hot glued down like the plywood sides. It must be glued down with thickened epoxy.
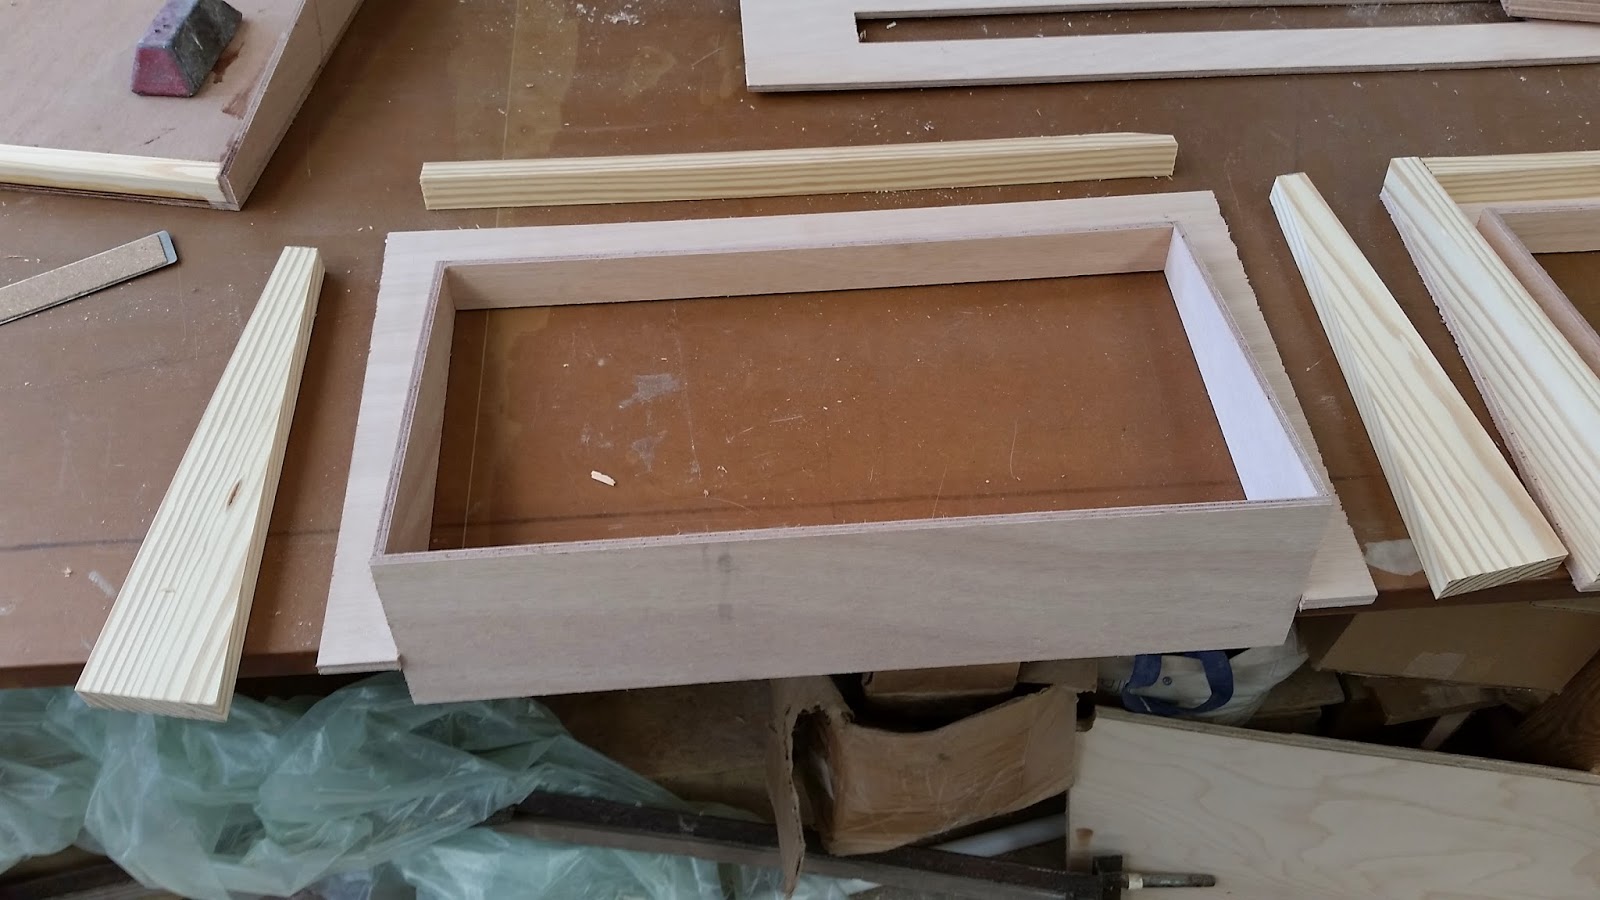 Here are the parts for the hatch ring. The sides and back rail are hardwood. They were glued on after the inner corner of the plywood parts were filleted.
 Here the hatch ring parts are dry fitted and hot glued together to hold them in place while being filleted. The hardwood sides are just dry fitted.
Below are some pictures of assembling the B and B waterproof hatches.
The assembled hatch and hatch ring.
This is a rendered view of the finished hatch.
Here it is seen from below. All edges would be rounded over.
Here we have an exploded view of the hatch lid.
This is an exploded view of the hatch ring showing all the parts.
And now for the real thing.
 Here is the hatch lid being glued up on a flat table to eliminate the possibility of a twist in the top. The parts were assembled with dabs of hot glue and then filleted. The hardwood beam across the back cannot be hot glued down like the plywood sides. It must be glued down with thickened epoxy.
  Here are the parts for the hatch ring. The sides and back rail are hardwood. They were glued on after the inner corner of the plywood parts were filleted.
  Here the hatch ring parts are dry fitted and hot glued together to hold them in place while being filleted. The hardwood sides are just dry fitted.
Here is another video from B and B last week of the crew lifting the hard top on to the 45' powercat that is nearing completion at B and B.
Saturday, June 21, 2014
More Progress on the CS 15 Kit Prototype
Here is part 4 and 5 of CS-15 kit prototype build. Next up will be getting the centerboard trunk installed and working on the cockpit hatches and seat tops.
Tuesday, April 22, 2014
A Little Side Project
While the CS 15 takes shape I had to get moving on another project I promised I would do for my friend Doug (AKA Ridgerunner) who is building the first Core Sound 20 MK3 from a kit. He has lots of pictures of the build on his blog Capt-Doug.blogspot.com
The finished blank was too large to run through the planer at the shop. Step one was to use a large surfacing bit in the CNC Machine to take the blank down to its final thickness. Dowel pins on either end of the blank on the center line allowed the blank to be flipped so that both sides could be machined without having to worry about if the blank was aligned properly.
Step 2 was a roughing pass to remove 90% of the material not needed in the finished shape. A 1/2" end mill was used.
Shown here are the final seconds of machining the finished surface with a 1/4" ballnose bit. The resulting surface has small ridges that are easily sanded smooth. The machine could make the surface perfectly smooth with no sanding needed but that could take it all night! A little sanding was faster in this case.
The resulting board after machining and cutting the final profile to free the board from the blank. Pivot and uphaul holes were located perfectly by the machine. Total machining time was about 2 hours.
It's quite a big board.
The lead weight in the tip of the board was calculated using CAD and the appropriate cut was made with a Japanese saw for minimal curf. This being the first CS 20 MK3 Centerboard the tip will be used to cast the lead tip. In future boards the cut files will be modified to leave off the tip and so a smaller blank will be required.
The CNC machine sure can make a nice foil!
There was more sand texture at the bottom of the pour when the lead was hottest and swirling around the most but overall no major problems with either pour. The sand was very hot after absorbing all the heat from the lead. After casting the green can be reused over and over. The sand is put through a sieve and a little bit of water added back.
A quick wash brought the lead back to its normal cold feeling temperature.
Lead is fairly easy to work with normal wood working tools. Be sure to keep your shavings and wear a respirator and gloves. It can be planed with a hand plane if you're prepared to sharpen it afterwards.
Nice shape! After shaping, the entire tip was "keyed" up with 36 grip sandpaper in a swirling motion to make crossing scratches in the surface. This aids in the mechanical bond to the fiberglass.
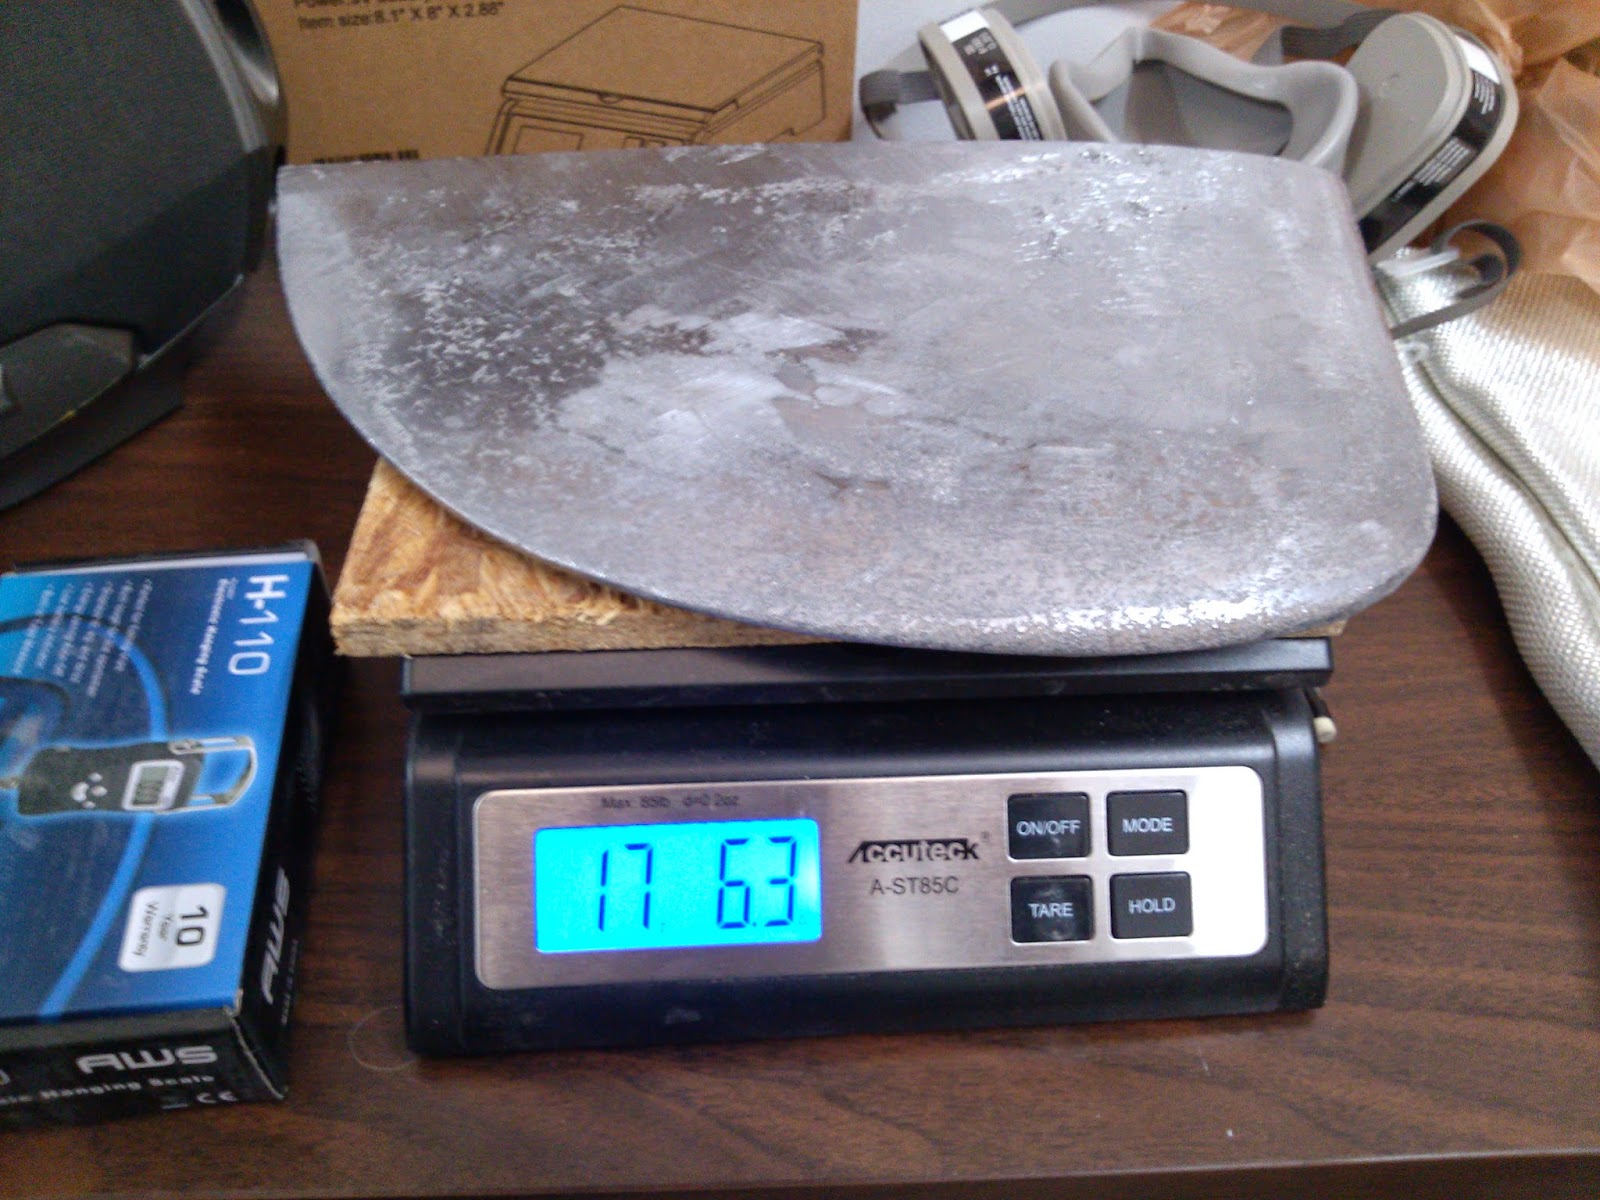
Target weight: 17 lb 9 oz. DAMN IT we were off....he said sarcastically.
With the top of the board clamped to the work table, two hardwood scraps were attached to one side of the board to act as a cradle. Shims were added until the lead would drop in and sit centered and fair with the wood edge. The shims were put down with hot glue so they wouldn't fall off once the fit was perfect.
Views from the bottom. A screw holds the strips in place.
Fitting the lead. Once satisfied with the placement, the wood was wet out with un-thickened epoxy. Then a thickend mix of epoxy and cabosil was made to glue the lead to the board.
He will have the boat down at the Cedar Island get together in Florida in a short time and I built the weighted centerboard for the new boat.
I used Graham's design to create the cut files for the new CB and glued up the wood blank for the board.
The blank is glued up from laminated quarter-sawn pine about 1" larger than the board on all sides. A large flat table really helps for this part. Double and triple check that the strips end up as flat as possible with no twist.
Step 2 was a roughing pass to remove 90% of the material not needed in the finished shape. A 1/2" end mill was used.
Shown here are the final seconds of machining the finished surface with a 1/4" ballnose bit. The resulting surface has small ridges that are easily sanded smooth. The machine could make the surface perfectly smooth with no sanding needed but that could take it all night! A little sanding was faster in this case.
The resulting board after machining and cutting the final profile to free the board from the blank. Pivot and uphaul holes were located perfectly by the machine. Total machining time was about 2 hours.
It's quite a big board.
The lead weight in the tip of the board was calculated using CAD and the appropriate cut was made with a Japanese saw for minimal curf. This being the first CS 20 MK3 Centerboard the tip will be used to cast the lead tip. In future boards the cut files will be modified to leave off the tip and so a smaller blank will be required.
The CNC machine sure can make a nice foil!
Pouring lead into an open sand mold. Our sand mold consists of a flask filled with hard packed "green sand" (sand mixed with bentonite clay and water). The wooden plug was used to create the cavity. We also cast a lead tip for a CS 17 MK3 at the same time. If you're interested in sand casting with green sand there is an excellent youtube channel you should visit called MyFordBoy. He has some wonderfully exciting (at least to me) casting and machining videos mainly in aluminum.
As we are just learning to use green sand we went for an open mold that resulted in parts that needed some clean up afterwards. Our holy grail is to cast an aluminum mold for the lead tips that can be machined to a perfect surface. The aluminum mold could then be used to make hundreds of perfect lead tips without having to pack sand each time.
Yes we probably should have been wearing masks but it was a particularly well ventilated (windy) day.
There was more sand texture at the bottom of the pour when the lead was hottest and swirling around the most but overall no major problems with either pour. The sand was very hot after absorbing all the heat from the lead. After casting the green can be reused over and over. The sand is put through a sieve and a little bit of water added back.
A quick wash brought the lead back to its normal cold feeling temperature.
Nice shape! After shaping, the entire tip was "keyed" up with 36 grip sandpaper in a swirling motion to make crossing scratches in the surface. This aids in the mechanical bond to the fiberglass.
Target weight: 17 lb 9 oz. DAMN IT we were off....he said sarcastically.
With the top of the board clamped to the work table, two hardwood scraps were attached to one side of the board to act as a cradle. Shims were added until the lead would drop in and sit centered and fair with the wood edge. The shims were put down with hot glue so they wouldn't fall off once the fit was perfect.
Views from the bottom. A screw holds the strips in place.
Fitting the lead. Once satisfied with the placement, the wood was wet out with un-thickened epoxy. Then a thickend mix of epoxy and cabosil was made to glue the lead to the board.
Once the lead tip was glued on, the CB was moved to the work table and the first side was glassed right away with 10oz fiberglass cloth.
A wide putty knife with thickened epoxy was pulled across the lead/wood joint to fill in any unevenness in the joint prior to laying down the fiberglass.
On the trailing edge a flat stick covered in packing tape was temporarily hot glued to the underside of the board to create a lip. Thickened epoxy was used to fill the lip and the glass was applied over top. This extends the trailing edge about 1/8" with thick epoxy and allows the TE to be shaped to an asymmetric point to reduce vibration. While a 30 degree or less trailing edge is best, an asymmetric shape with one flat side and one side cut at 45 degrees rounded into the rest of the board is very very close to ideal in terms of reducing oscillation or "board humm"
The fiberglass was cut about 2" too big and wrapped around the leading and bottom edges. A hot glue gun was used to "tack" the dry edge of the glass to the opposite side of the board to keep the glass wrapped around the edges. Afterward the hot glue was scraped off with a scraper.
The fiberglass was cut about 2" too big and wrapped around the leading and bottom edges. A hot glue gun was used to "tack" the dry edge of the glass to the opposite side of the board to keep the glass wrapped around the edges. Afterward the hot glue was scraped off with a scraper.
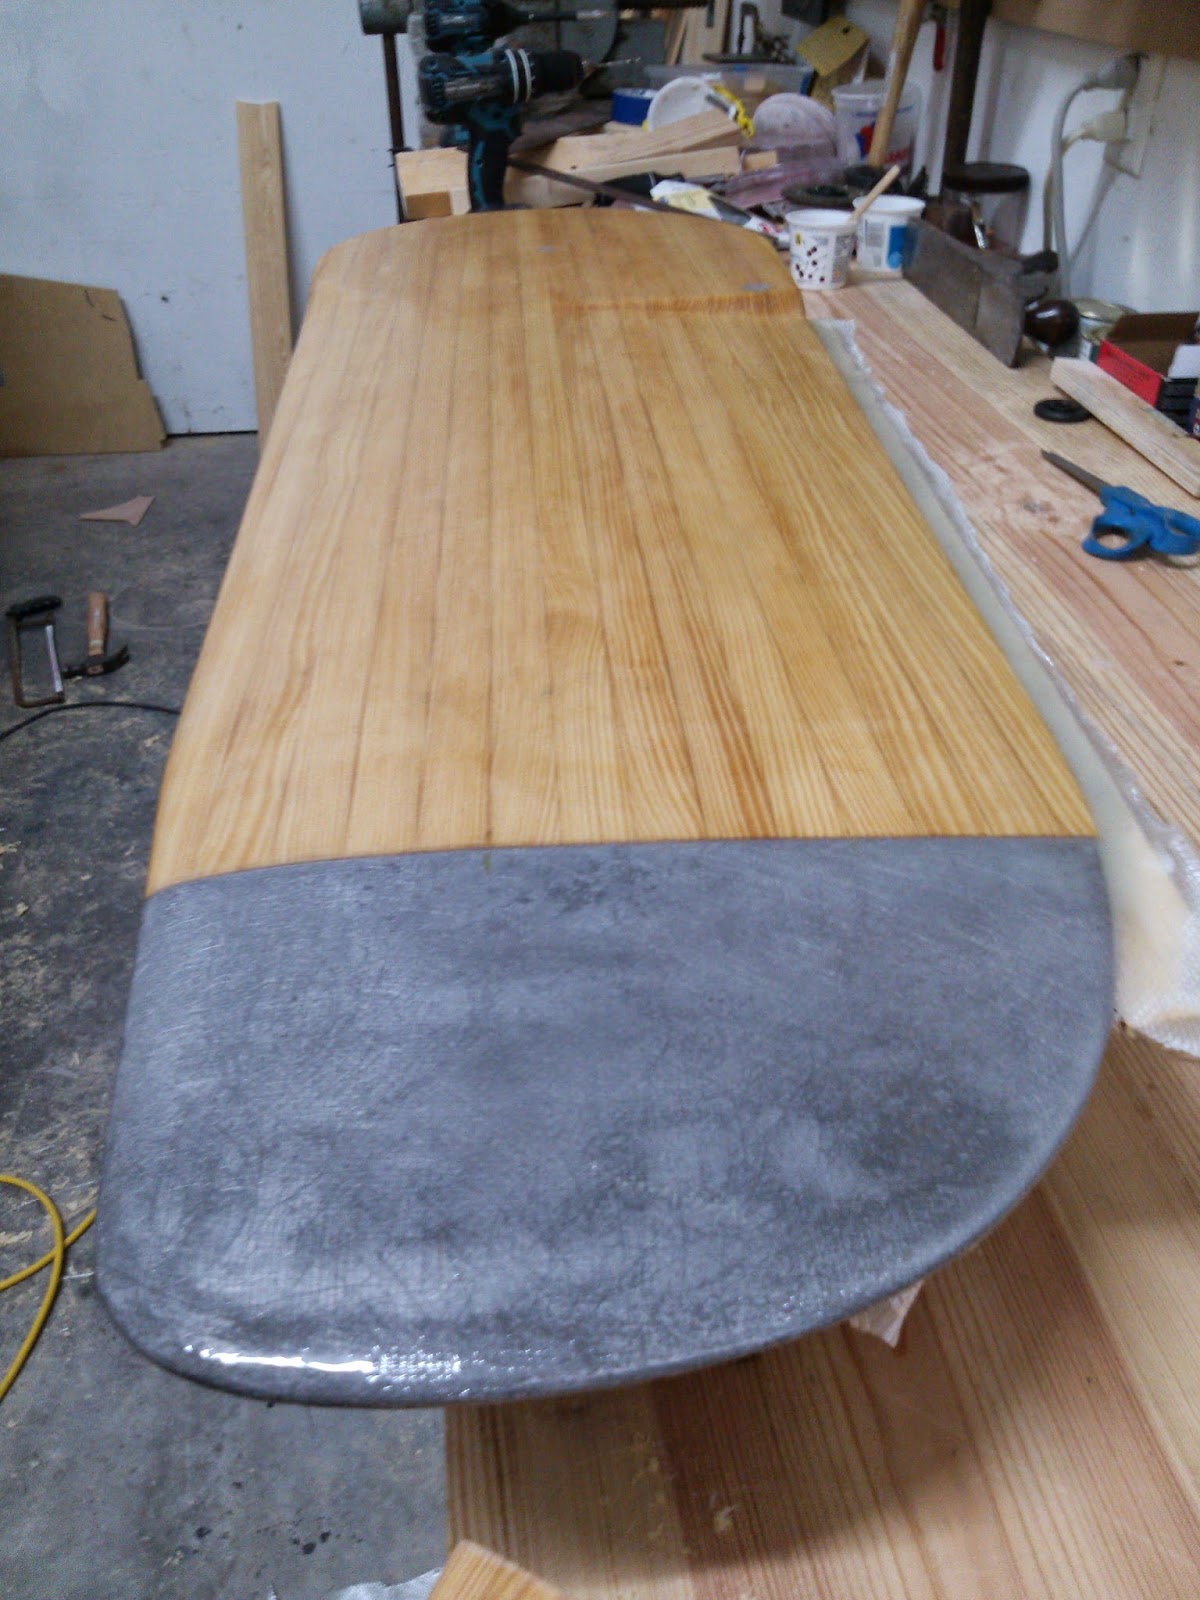
Above: The finished board with a coat of epoxy to fill the weave. The wrapped glass edge was sanded and feathered into the wood before glassing the second side. The second side glass stopped at the center line and the edges were sanded smooth before coating. The lead tip is held on with fiberglass alone no other mechanical fasteners. The board being nearly and inch wide at the tip gives the fiberglass (which has a very high tensile strength) a lot of leverage to resist bending at the tip.
Subscribe to:
Posts (Atom)


